LIA SUSPENSION 30

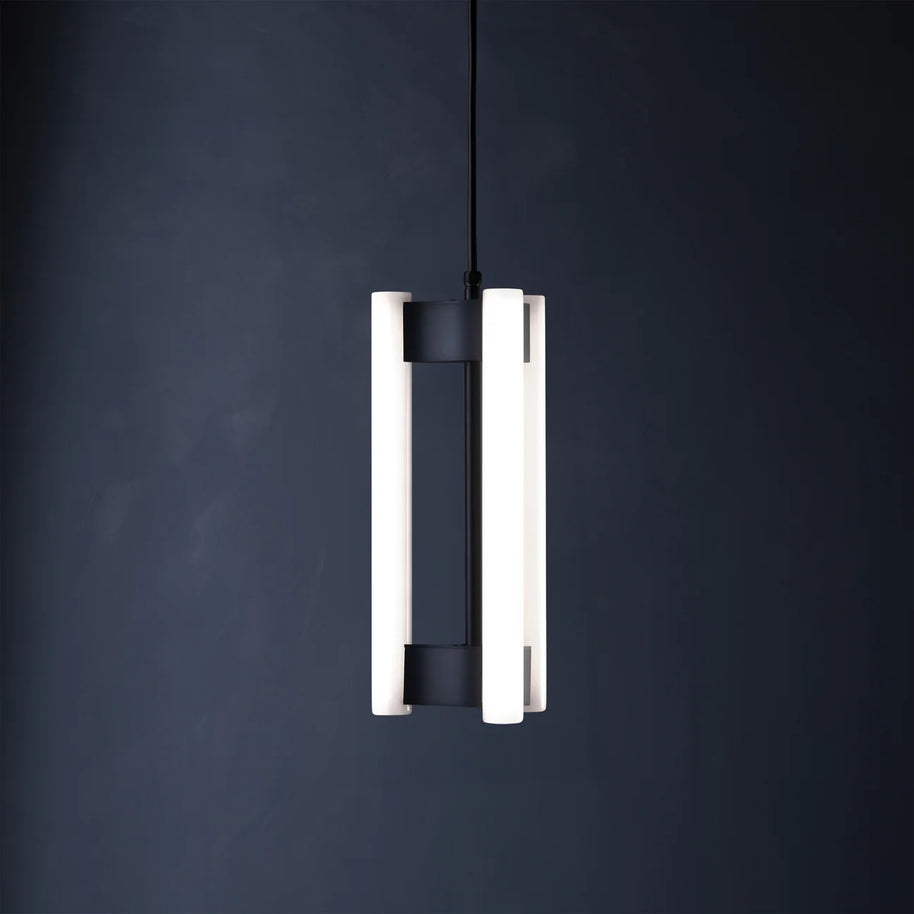
‘CUTTING THROUGH DARKNESS‘

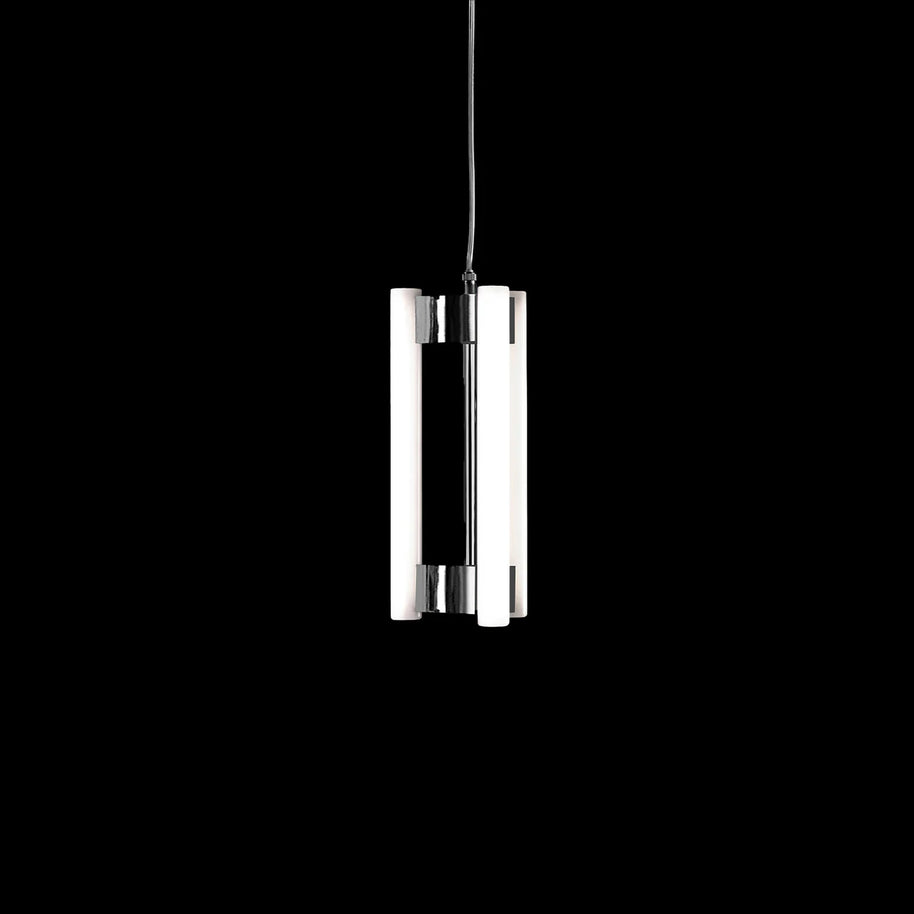
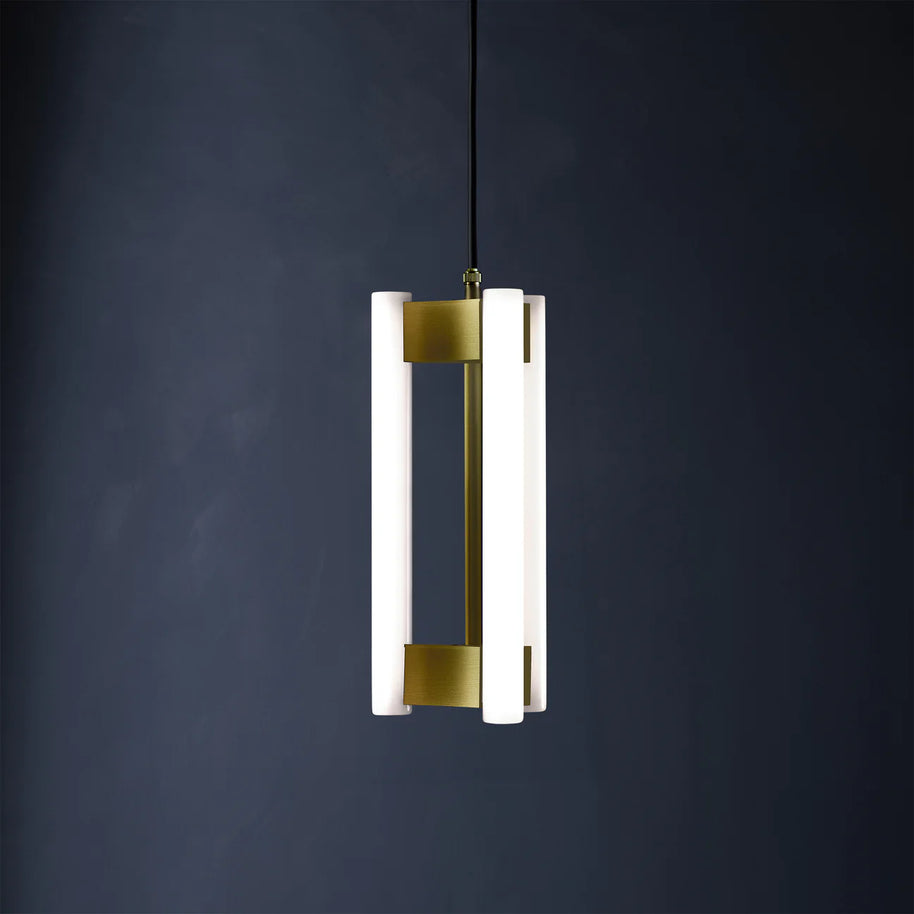
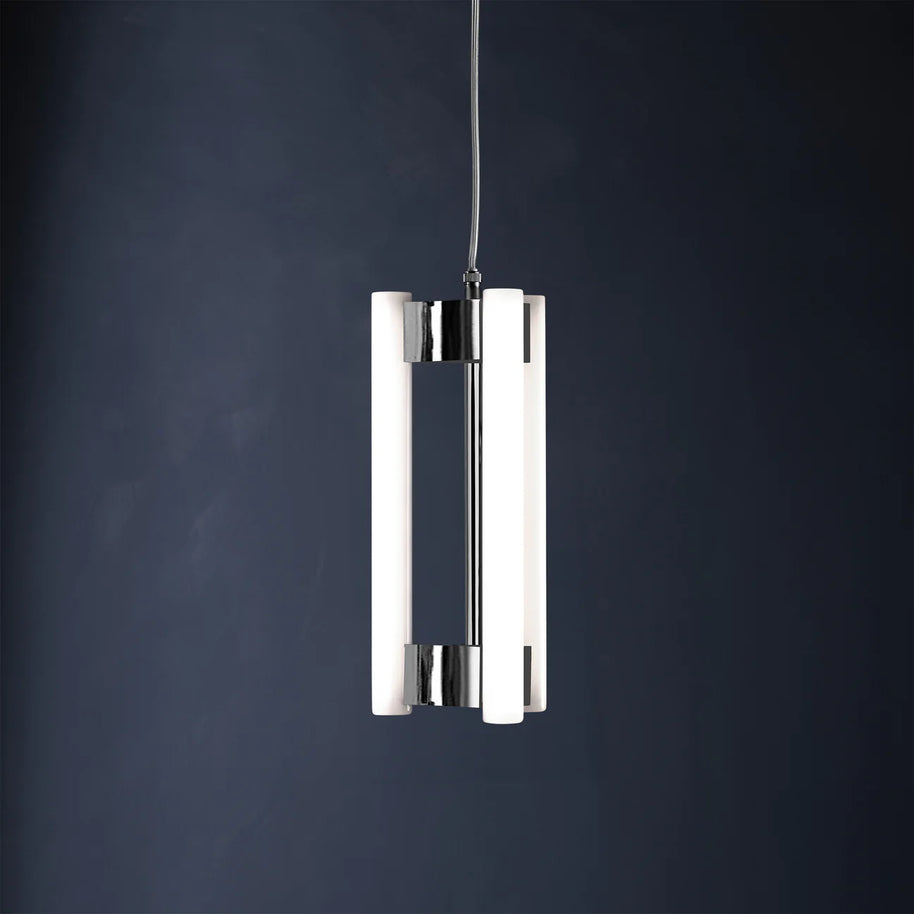
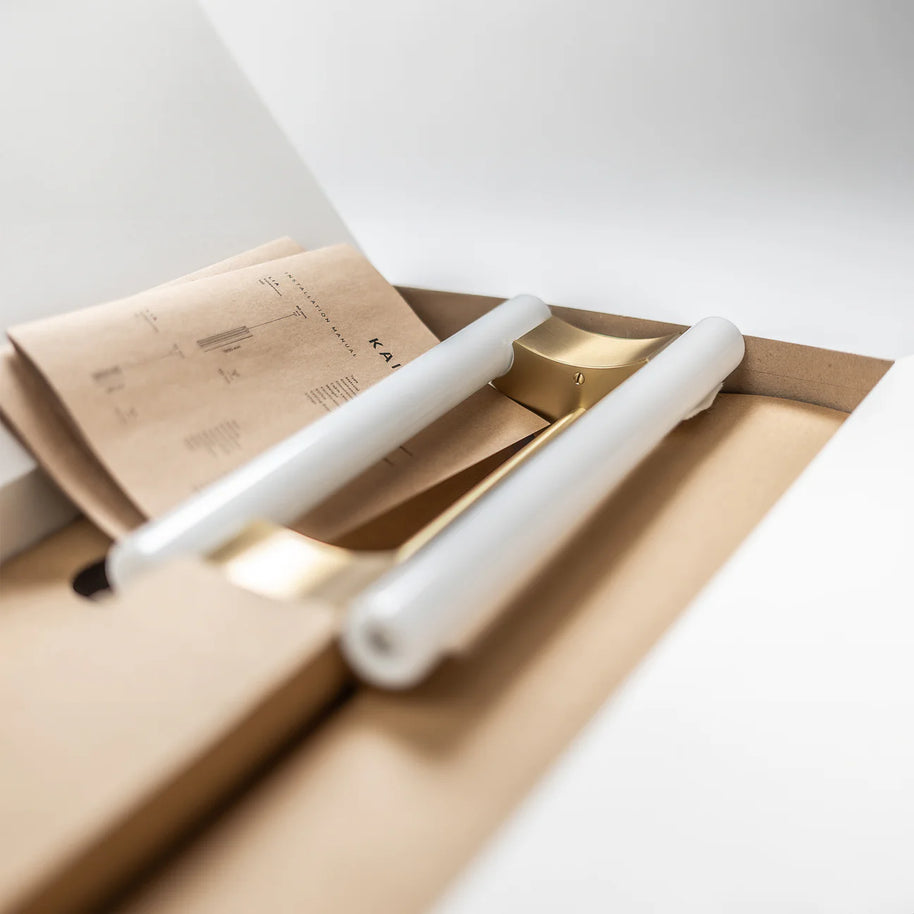
A KAIA DESIGN CLASSIC, SMALL PENDANT LIGHT LIA SEES THREE 300MM GLASS TUBES SUSPENDED BETWEEN TWO HAND-CRAFTED BRASS FIXTURES. EACH IS FINISHED IN A CHOICE OF POLISHED NICKEL, BRUSHED NICKEL, BRUSHED BRASS, OR BLACKENED BRASS. THIS IS SUSPENDED FROM THE CEILING WITH A BLACK FABRIC CABLE.

THE RESULT IS A MINIMALIST LIGHTING OBJECT THAT CAPTIVATES WHEN ON AND ALMOST DISAPPEARS INTO ITS SURROUNDINGS WHEN TURNED OFF – EMBODYING THE UNION OF TECHNICAL RIGOUR AND TIMELESSNESS.

LAMPS INCLUDED.

DESIGNED BY Peter Straka
HANDMADE BY KAIA

Need a replacement lamp?

DOWNLOADS

Dimensions: 1000 mm x 125 mm (39.37 in x 4.92 in) Weight: 1.8 kg (3.9 g) Certification: IP20 CE; ETL
LIA SUSPENSION 30 is made from solid brass and available in the following finishes: 050 03 202 12 - Brushed brass 050 03 209 12 - Black matte 050 03 201 12 - Brushed nickel 050 03 101 11 - Polished nickel Other finishes available on request - please contact sales@kaialighting.com.
For ‘off-the-shelf’ Goods purchased through Our Site, the Goods will normally be delivered within one – four weeks after the date of payment receipt unless otherwise agreed or specified during the ordering process. For ‘customised line’ Goods purchased through Our Site, the Goods will normally be delivered within eight – fourteen weeks after the date of payment receipt unless otherwise agreed or specified during the ordering process. For more information, please refer to our trade B2B and retail B2C Terms and Conditions.
Before commencing installation, ensure the relevant mains supply has been safely isolated/disconnected. Installation should be carried out by a qualified electrician. Ensure all electrical connections are tight with no loose strands, including factory made connections. 1. Fit the 3 lamps before starting the installation (see next page). 2. Remove the base from the installation bracket. 3. Affix the bracket to the ceiling with 2 screws (hole size max. 4.5 mm, 50 mm apart). 4. Connect the unit to the mains. 5. Fix the unit back on its base and retighten 2 screws on the side.

Recently viewed